Sept. 29, 2021 | Tyler Difley
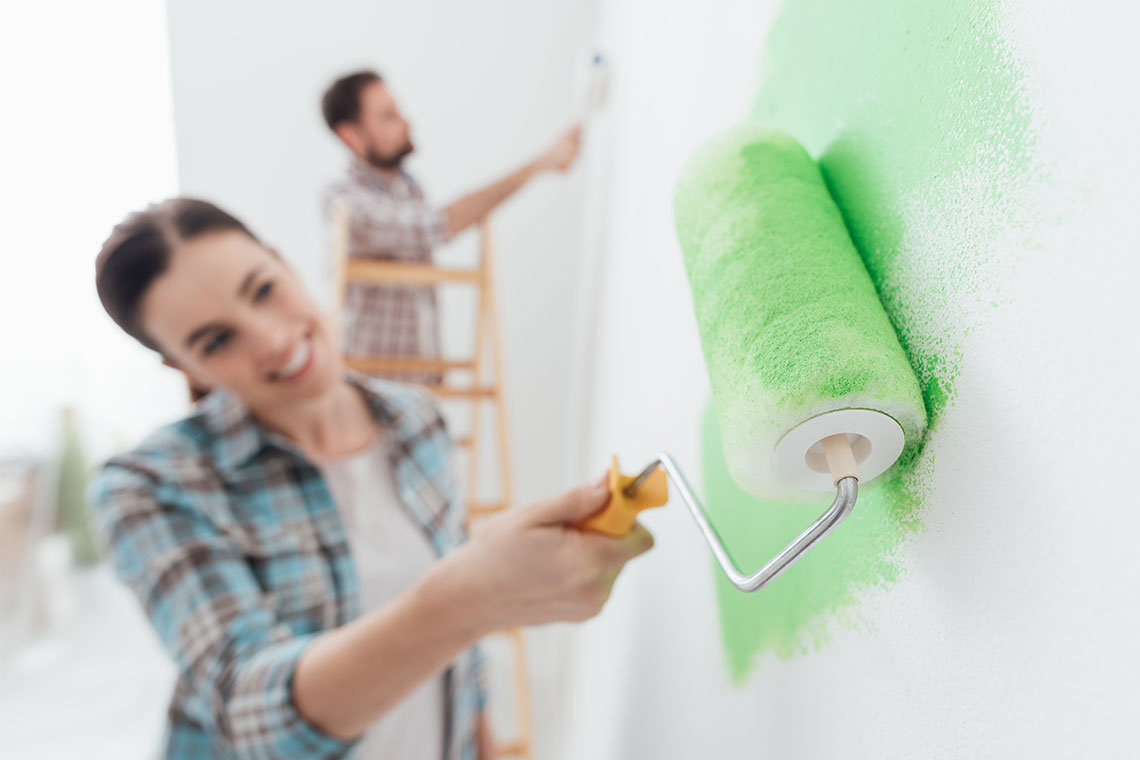
Five DIY painting tips for professional results
A fresh coat of paint is one the easiest ways to shake up your home's design and completely change the feel of a room.
It's also a project most homeowners can tackle themselves without much expensive or specialized equipment. All you need is time and a little elbow grease.If you decide to go the DIY route, here are five tips for getting professional painting results without the professional price tag:
1. Clean and prep walls
Dirty walls can lead to an uneven or peeling paint job, so make sure you give them a thorough cleaning beforehand. A quick pass with a vacuum or cleaning cloth can take care of dirt and dust, but you might need to scrub with soap and water or a pre-paint cleaning product in areas like the kitchen and bathroom where grease and grime can accumulate over time.
Once they're clean, don't forget to prime your walls before you jump ahead to the paint (unless you've chosen an all-in-one paint and primer mix). Make sure you choose the right primer for the job, which means water-based primer for new drywall and oil-based primer for panelled or heavily stained, water-damaged or smoke-saturated walls.
2. Mix paint cans together for consistent colour
Even though paint cans are mixed using a computer to ensure colour consistency, there may still be slight differences in colour between cans. If you're forced to switch cans halfway through painting, that slight difference can suddenly stick out like a sore thumb. Thankfully, this problem can be avoided by mixing paint from separate cans together in one container, such as a large pail or bucket, before you get started. You can always pour the excess back into the cans when the job is done.
3. Use real drop cloths
To protect against paint spills and splatters – which, let's face it, will happen – cover your floors and furniture with drop cloths. Although paper and plastic options are available, paper tears easily and plastic can be too slippery to walk across safely. Instead, opt for actual cloth/canvas drop cloths, which are thick and heavy enough to stay in place without taping, contain spills and prevent seepage.
4. Don't forget the trim
You should always paint trim first before moving on to ceilings and walls. This allows you to finish the job faster, since you don't have to worry about getting paint on the walls during the trim work – you'll be painting over it later anyway – and the trim is easy to tape off when it's time to start on the walls.
5. Start at the top
Now that you have your drop cloths down, your walls cleaned and primed, your trim painted and taped off, and your paint mixed, you're ready for the main event.
For a seamless finish free of imperfections, start at the top and move your roller down the full length of the wall before running it back up the wall, overlapping the wet edge from the previous stroke. This will prevent streaks and lap marks, the unsightly areas of uneven paint buildup created when fresh paint is rolled over paint that's partially dry. Continue rolling paint on in this overlapping "W" shape (i.e., down, up, down, up) until the whole wall is covered.
Tagged: advice | colour | Design | DIY | Feature | House & Home | How To | How To | New This Week | paint | painting | Professional | tips


Related Articles
