June 14, 2012 | CREBNow
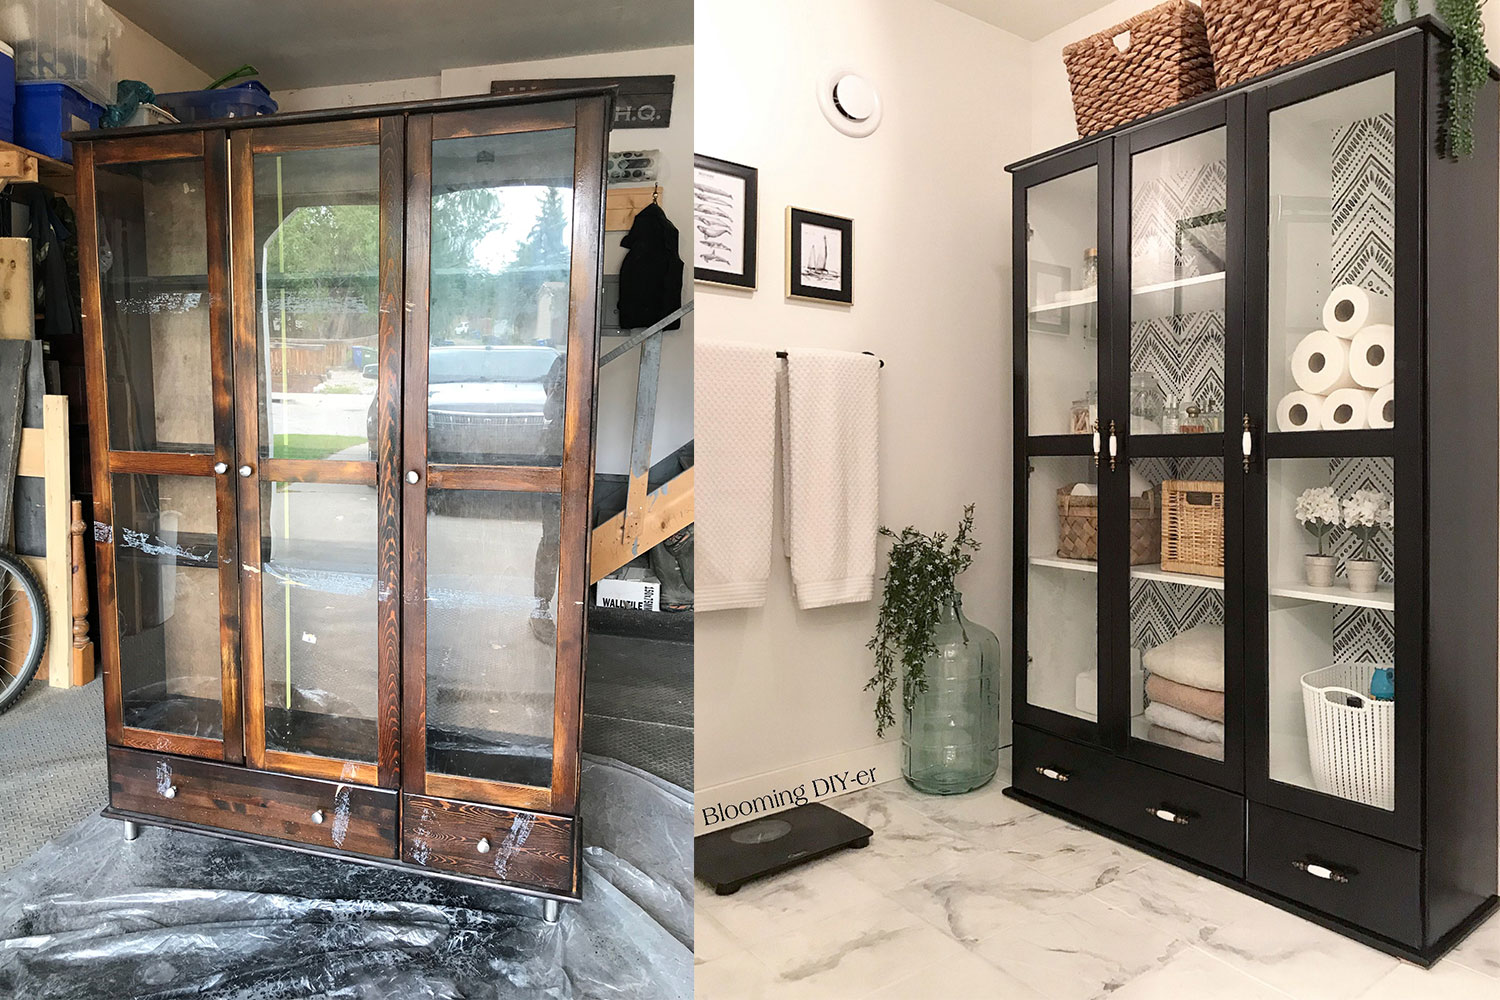
Antique or Distress Furniture
Have some time on your hands and looking to do a creative DIY project in your home? On a budget and looking to jazz up your old dorm room furniture? Looking to add some vintage chic to your home décor? Why not try antiquing a piece of furniture? Antiquing or stressing furniture adds a rustic, old school look to new furniture with a few quick easy steps.
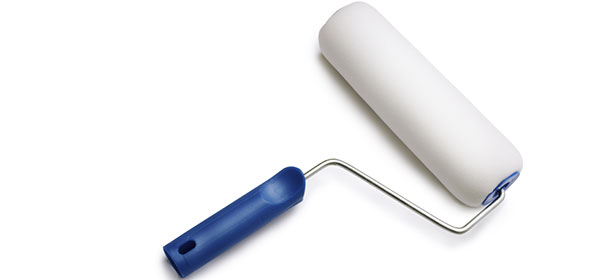
Supplies:• Sanding sponge
• Paint tray and rollers/brushes
• Drop Cloth
• Primer
• Paint
• White wax candle or antique glaze
• Scraper
• Clear Coat
1. Sand: Sanding is an important part of your preparation work for antiquing. Sanding scuffs the surface you're going to paint so your primer — and therefore your topcoats — adhere better and you get the most out of your finish. With wood furniture be sure to sand with the grain of the wood.
2. Prime: Once you've sanded you'll want to prime the piece of furniture you're working with. A primer like STIX will practically stick with anything, you'll more than likely be working with wood furniture but STIX will adhere to other surfaces such as particleboard or melamine as well.
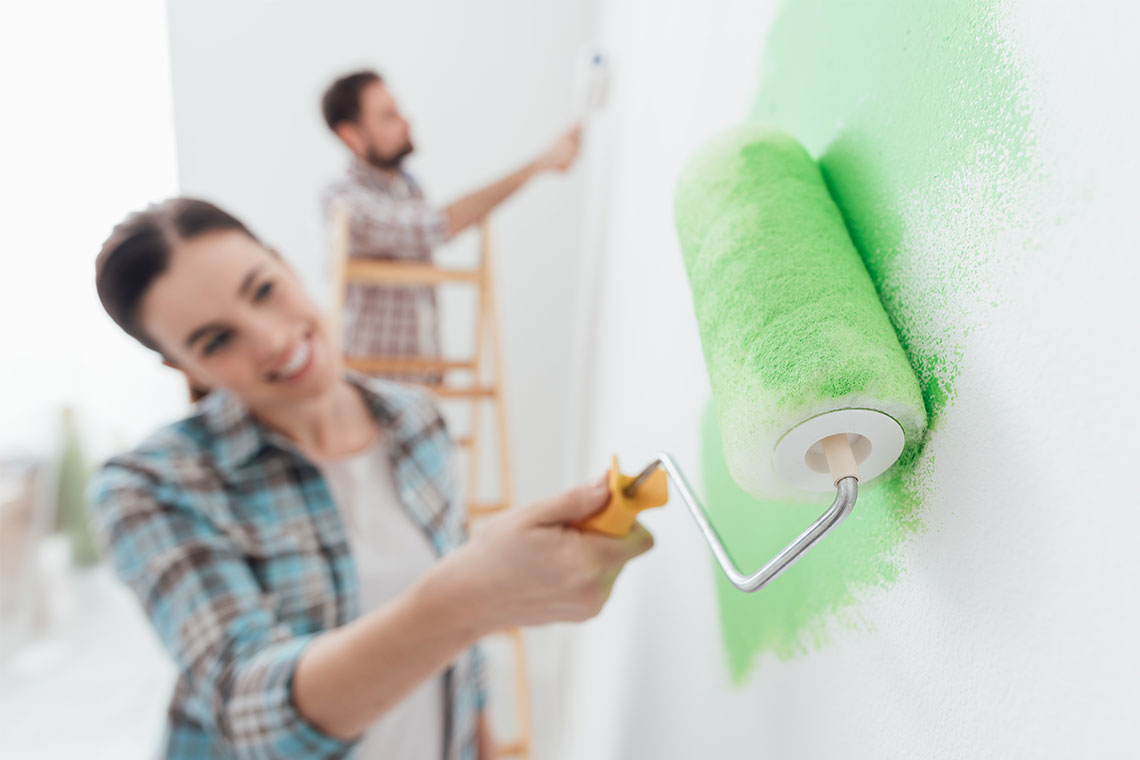
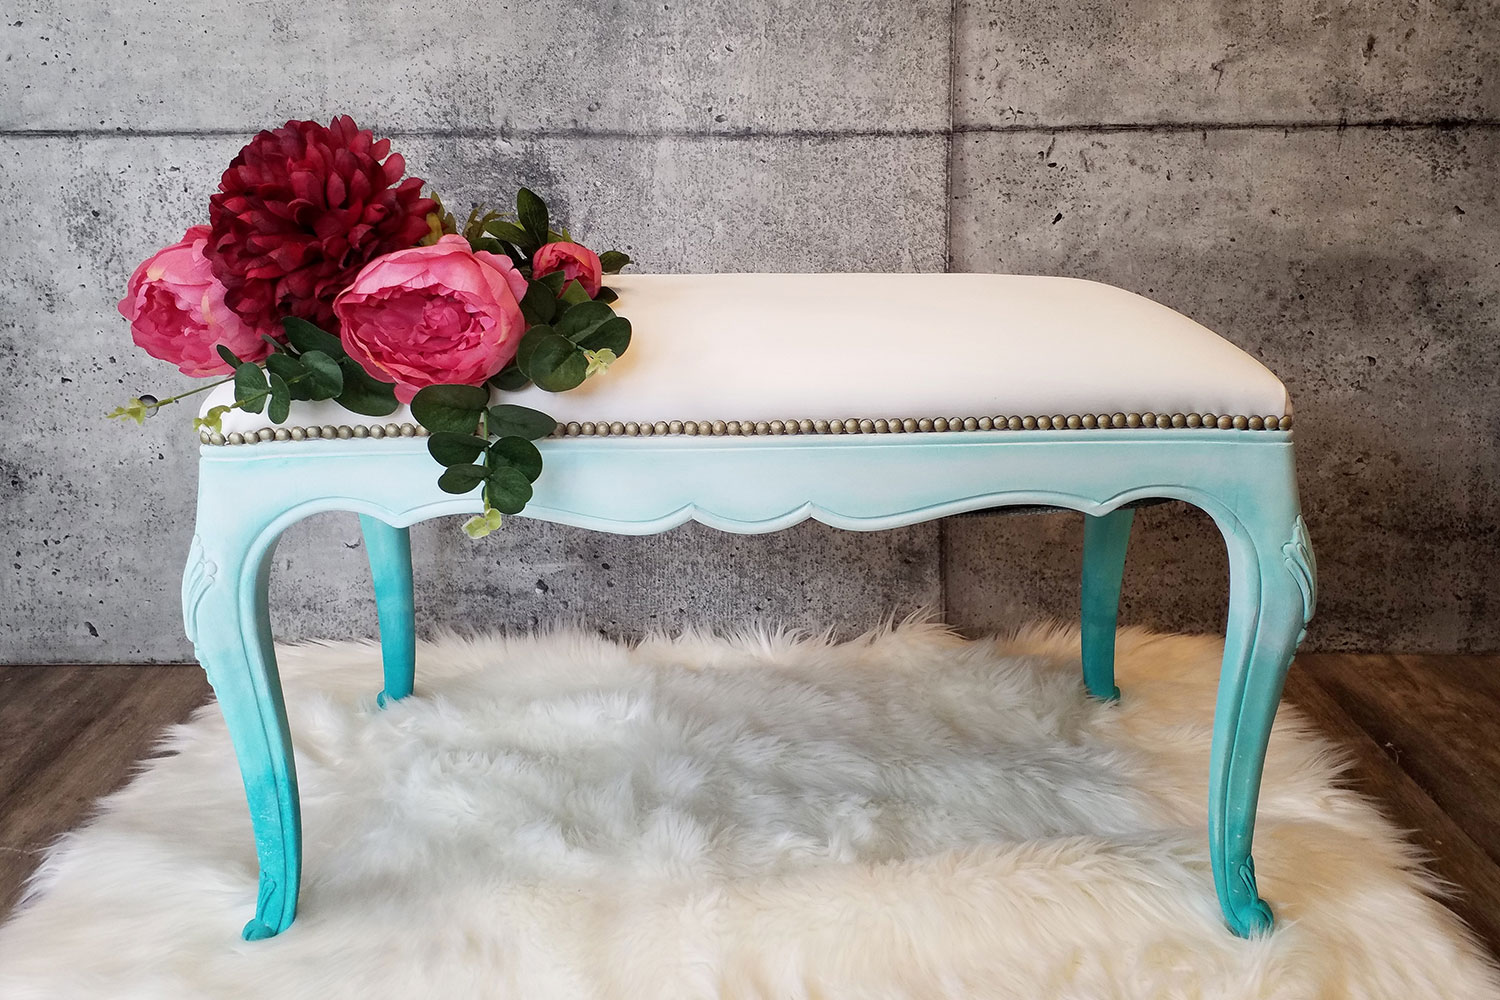
3. Choose a base colour for your piece of furniture. A lot of people will go with a nice dark brown (such as Benjamin Moore's Mink or Cloverdale's Pilot Rock). Or if you're feeling adventurous, why not play around with some brighter colours such as a turquoise, red or eggplant tone. Depending on the piece of furniture you can apply your paint with a brush or roller. Allow to dry according to the directions on the can. If you're using an antique glaze and not the wax candle approach, you'll be painting your initial coat in a lighter colour to make the glaze more effective (skip to step 7).
4. Take a plain white candle and rub it against the edges and in the grooves of the table/ dresser ect. The wax will act as a barrier between your different coloured coats of paint producing the anticipated "antiqued" look. Once finished, take an unused paintbrush and gently brush off any waxy bits that might interfere with your painting.
5. For your topcoat choose a colour that's a nice contrast to your base coat. For the most effective look go with something several shades lighter so your antiqued look is more visible. For example, a nice off white such as Benjamin Moore's Cloud White or General Paint's Stoney Plain and brush over your freshly waxed and brushed piece of furniture. Allow to dry according to directions on the side of the can.
6. With your scraper, gently scrape wax away from the edges and grooves of the furniture revealing your darker undercoat. Scrape a little at a time to get your desired effect taking the time to step back and assess your work as you go. Gently sand scraped areas for a smooth finish.
7. If you've decided to use an antique glaze instead of the wax candle method, mix your glaze with a dab of darker paint and some water until you reach a desired effect. You can practice on a board or piece of poster paper to figure out the best ratio for you. Use a little at a time, dabbing on with a clean rage or cheese cloth in grooves and edges.
8. Once everything is complete and your piece of furniture looks like it's been aged 50 years, apply a clear coat for further protection, you can ask a paint store professional about the product that will best suit your project. Be sure not to place anything on the furniture (mementos ect.) until it's completely dry, at least 48 hours.
Tagged: How To


Related Articles
